In this HOWTO, I will demonstrate how to easily integrate the Google reCAPTCHA service into a Flask web application using Flask-WTF.
The following cartoon depicts the end result.
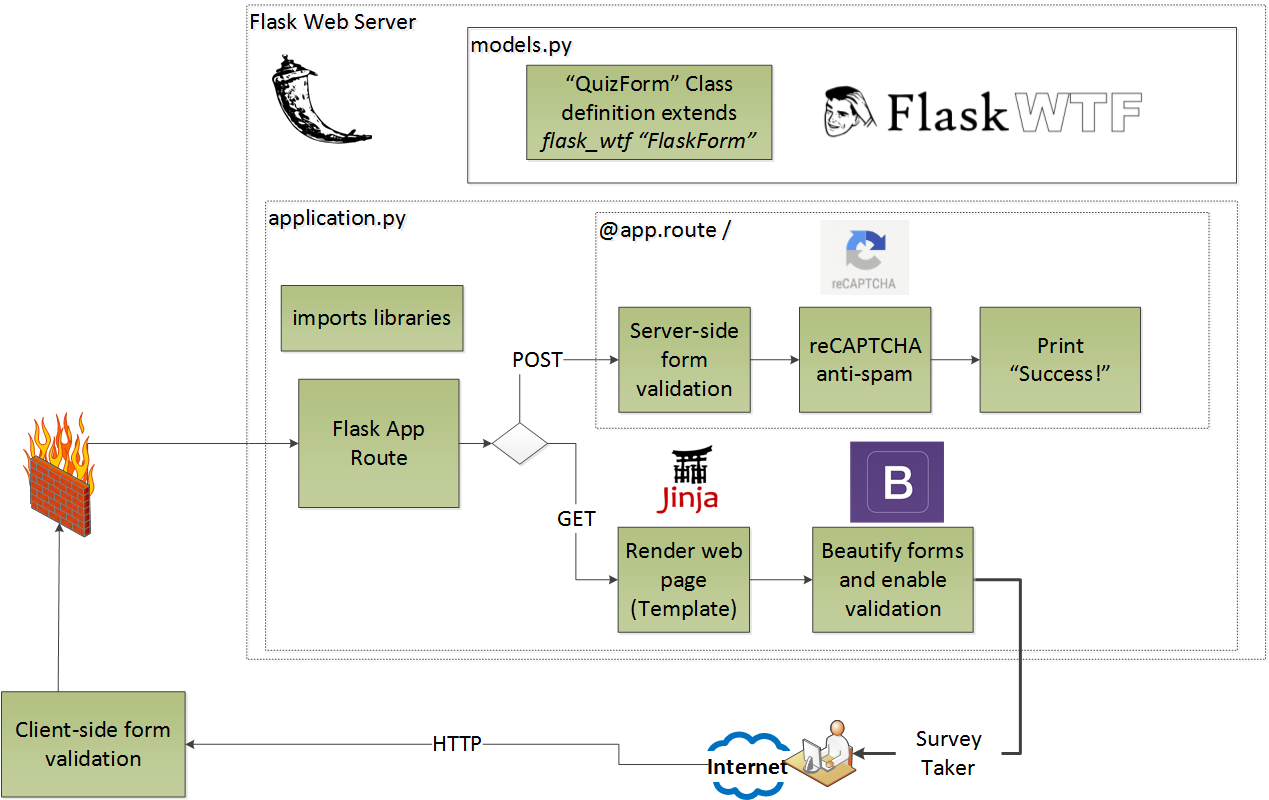
A Flask application server provides a simple (beautified) survey to the user. When the user clicks SUBMIT, Flask first checks to see if the user filled out all the fields. Flask then uses the Google reCAPTCHA service to make sure the user is not a Robot.

reCAPTCHA makes robots very sad! (p.s. that dope MS Paint isometric pixel art is all me baby!)
Before we begin, if you would like more detail on how Flask uses routes to generate the appropriate web pages for the end user, check out HOWTO-2. If you would like to see how Flask can beautify and validate the survey form using Bootstrap, check out HOWTO-3. You do not need the details, however, to run this demo.
This demo includes the following fun, easy steps:
- Deploy a simple, usable web Application
- Get reCAPTCHA Keys
- Update web Application to require reCAPTCHA
- Test the new reCAPTCHA service
Step 1: Deploy a simple, usable web Application
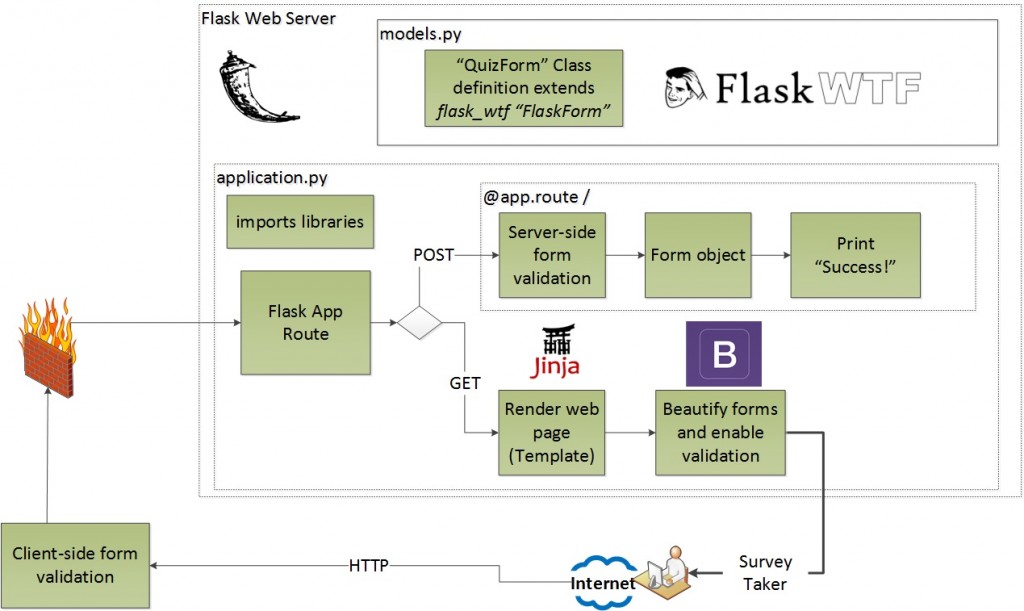
We deploy the following baseline application, which uses "quick_form" to render our survey's web page. This application doesn't do anything except print "success," but you can easily extend it to persist data, for example, using an ORM. The simple baseline app uses the following Architecture:
From your workstation, pull the files for this demo from GitHub.
[centos@ip-172-31-1-82 ~]$ git clone https://github.com/hatdropper1977/flask-recaptcha.git
Cloning into 'flask-recaptcha'...
remote: Counting objects: 5, done.
remote: Compressing objects: 100% (5/5), done.
remote: Total 5 (delta 0), reused 0 (delta 0), pack-reused 0
Receiving objects: 100% (5/5), 5.23 KiB | 0 bytes/s, done.
[centos@ip-172-31-1-82 ~]$
The web app contains models.py (contains form model), take_quiz_template.html (renders the web page) and application.py (the web app that can route to functions based on URL and parse the form data).
[ec2-user@ip-192-168-10-134 ~]$ tree flask-recaptcha/
flask-recaptcha/
├── application.py
├── models.py
├── requirements.txt
└── templates
    └── take_quiz_template.html

1 directory, 4 files
[ec2-user@ip-192-168-10-134 ~]$
Create and activate your virtual environment and then install the required libraries.
[ec2-user@ip-192-168-10-134 ~]$ virtualenv flask-recaptcha/
New python executable in flask-recaptcha/bin/python2.7
Also creating executable in flask-recaptcha/bin/python
Installing setuptools, pip...done.
[ec2-user@ip-192-168-10-134 ~]$ . flask-recaptcha/bin/activate
(flask-recaptcha)[ec2-user@ip-192-168-10-134 ~]$ pip install -U pip

 ...

(flask-recaptcha)[ec2-user@ip-192-168-10-134 ~]$ pip install -r flask-recaptcha/requirements.txt

  ...

Successfully installed Flask-0.11.1 Flask-Bootstrap-3.3.7.0 Flask-WTF-0.13.1 Jinja2-2.8 MarkupSafe-0.23 WTForms-2.1 Werkzeug-0.11.11 click-6.6 dominate-2.3.1 itsdangerous-0.24 visitor-0.1.3
(flask-recaptcha)[ec2-user@ip-192-168-10-134 ~]$
Start your flask application and then navigate to your IP address. Since this is just a dev application, you will need to access port 5000.
(flask-recaptcha)[ec2-user@ip-192-168-10-134 ~]$ cd flask-recaptcha/
(flask-recaptcha)[ec2-user@ip-192-168-10-134 flask-recaptcha]$ ./baseline-application.py
 * Running on http://0.0.0.0:5000/ (Press CTRL+C to quit)
 * Restarting with stat
 * Debugger is active!
 * Debugger pin code: 417-431-486
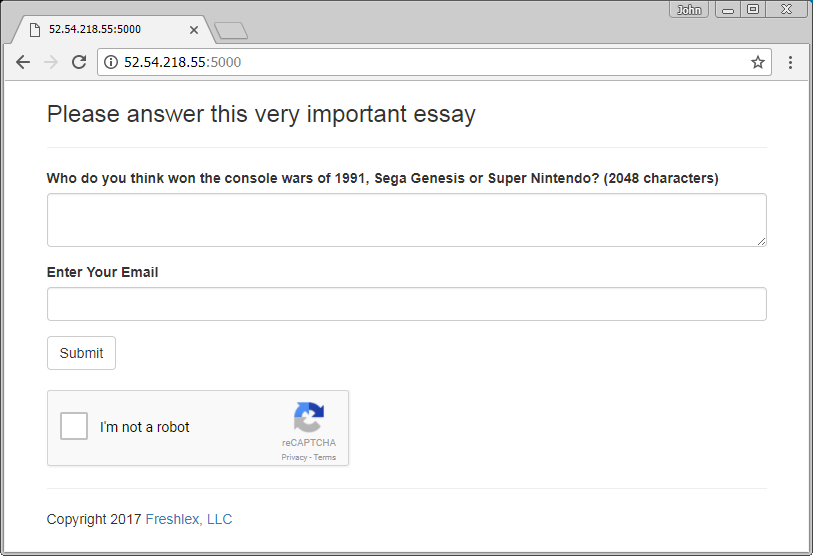
If you navigate to your web page on port 5000, you will see the following form.
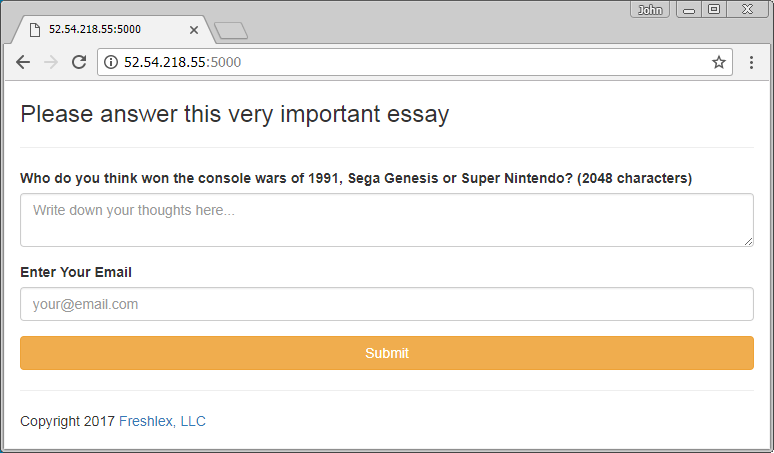
This application uses the quick_form method to generate a web page. Note that the application includes all sorts of goodies, such as CSFR avoidance, professional looking highlights and validation. Play around with the page to look at the different validation pop-ups and warnings.
Now that we have a working baseline application, let's get reCAPTCHA keys.
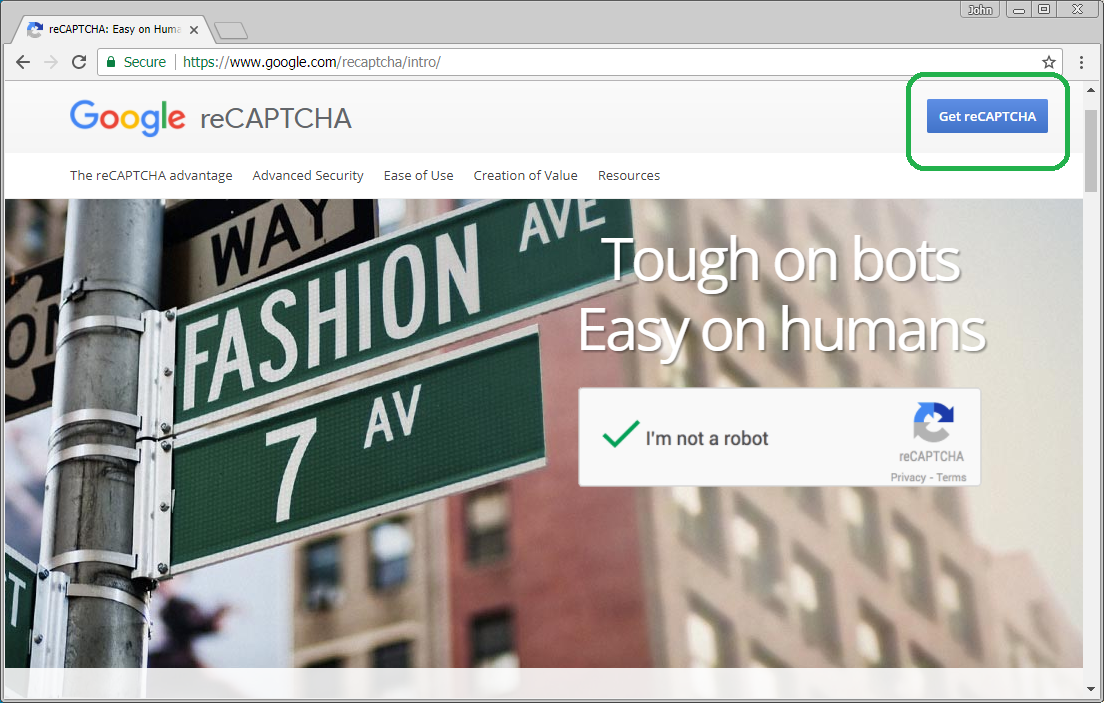
Step 2: Get reCAPTCHA Keys
First, go to the reCAPTCHA website and click 'Get reCAPTCHA'.
Now, you will need to register a site. I will register this blog, FreshLEX.
It's pretty straight forward. Register your domain under the domain section. You can look at my registration for help.
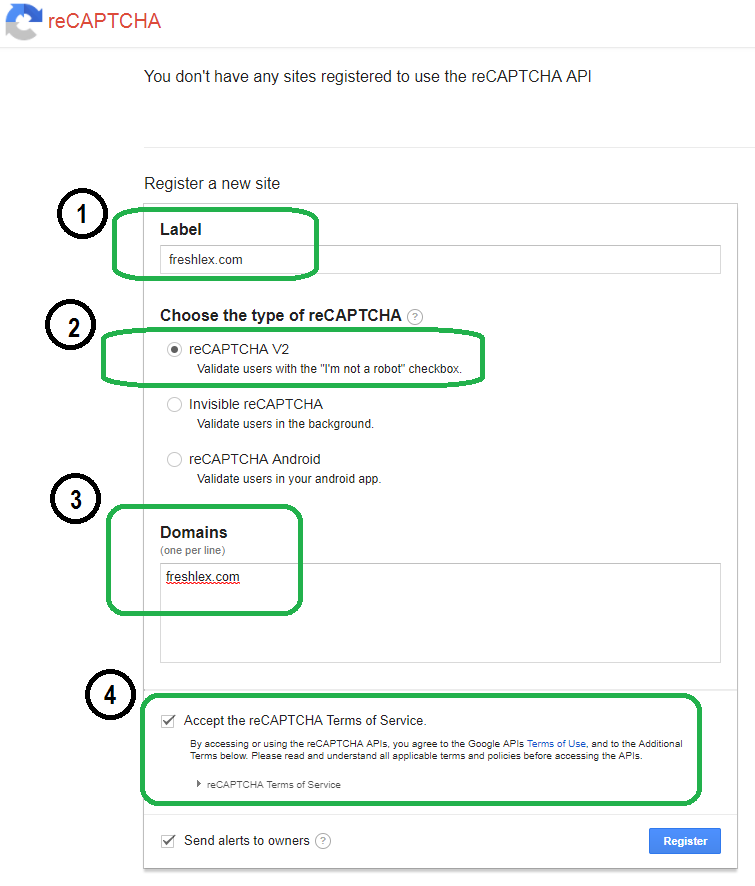
Once you submit the form, Google immediately provides you with a reCAPTCHA key.
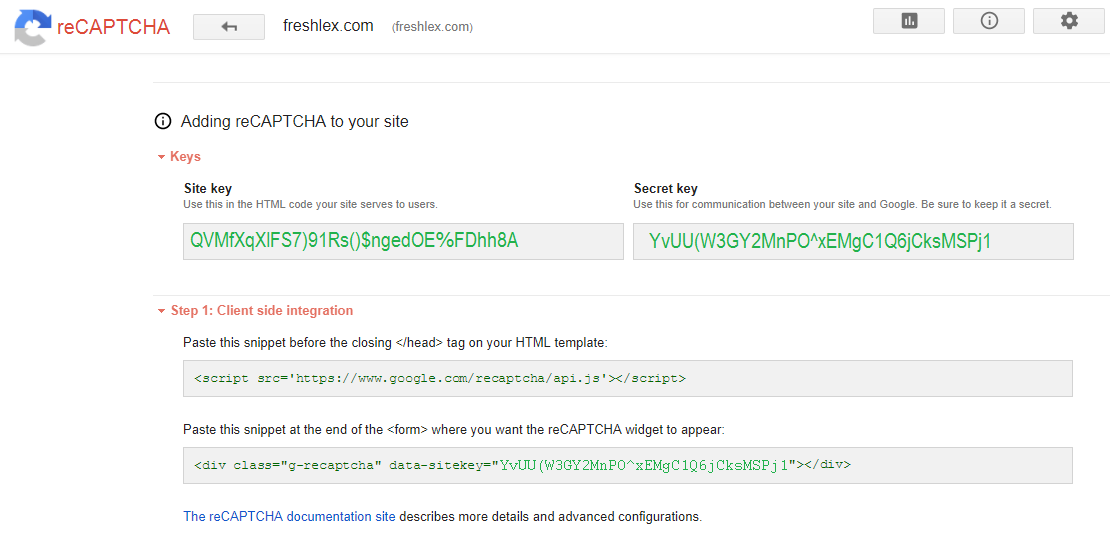 .
.
Save the site key and secret key someplace safe - they are both critical!
Step 3: Update web Application to require reCAPTCHA
Now we update Flask to hook into the recaptcha service.
First, look at our form model, modeled in models.py.
You will see we use Flask-WTF to generate our form.
All we need to do is import RecaptchaField.
from flask_wtf import Form, RecaptchaField
Then we simple add the RecaptchaField form object to our model.
# Form ORM
class QuizForm(Form):
        essay_question = TextAreaField('Who do you think won the console wars of 1991, Sega Genesis or Super Nintendo? (2048 characters)', validators=[Required(),Length(max=2047)] )
        email_addr = TextField('Enter Your Email', validators=[Required(), Email()])
        recaptcha = RecaptchaField()
        submit = SubmitField('Submit')
I've already done the work for you in recaptcha_models.py.
Now, let's import this new model and add the keys to our Flask app.
You can see the finished work in recaptcha_app.py.
First, we import the new model.
from recaptcha_models import QuizForm
Then, we import our secret and private key from config.py.
from config import RC_SECRET_KEY, RC_SITE_KEY
Then we configure Flask to use these keys.
class Config(object):
    # SECRET_KEY IS A RANDOM STRING FOR CSFR AVOIDANCE
    SECRET_KEY = '78w0o5tuuGex5Ktk8VvVDF9Pw3jv1MVE'
    RECAPTCHA_PUBLIC_KEY = RC_SITE_KEY
    RECAPTCHA_PRIVATE_KEY = RC_SECRET_KEY
Now edit config.py to include your reCAPTCHA keys.
RC_SITE_KEY='RkhEr6ysbvZCa3LpcVe3kjDBHjJhLEE9DwD4schB'
RC_SECRET_KEY='tpXYBrTLfZmztBkbTeZemnkuuQTRkB5g2p67MP6y'
Step 4: Test the new reCAPTCHA service
OK! Now we can test the service. Execute your new recaptcha_app.py.
(flask-recaptcha)[centos@ip-172-31-1-82 flask-recaptcha]$ ./recaptcha_app.py
 * Running on http://0.0.0.0:5000/ (Press CTRL+C to quit)
 * Restarting with stat
 * Debugger is active!
 * Debugger PIN: 738-907-756
Now, navigate to your web site on port 5000 and...
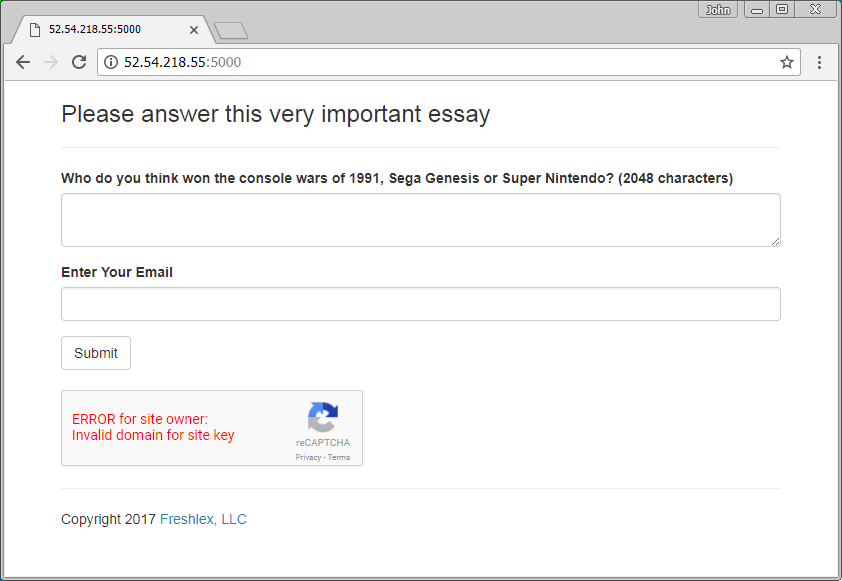
WHOOPS! It failed? Yes, it failed, and the reason is that I registered my domain as freshlex.com and yet I attempted to access the server by raw IP.
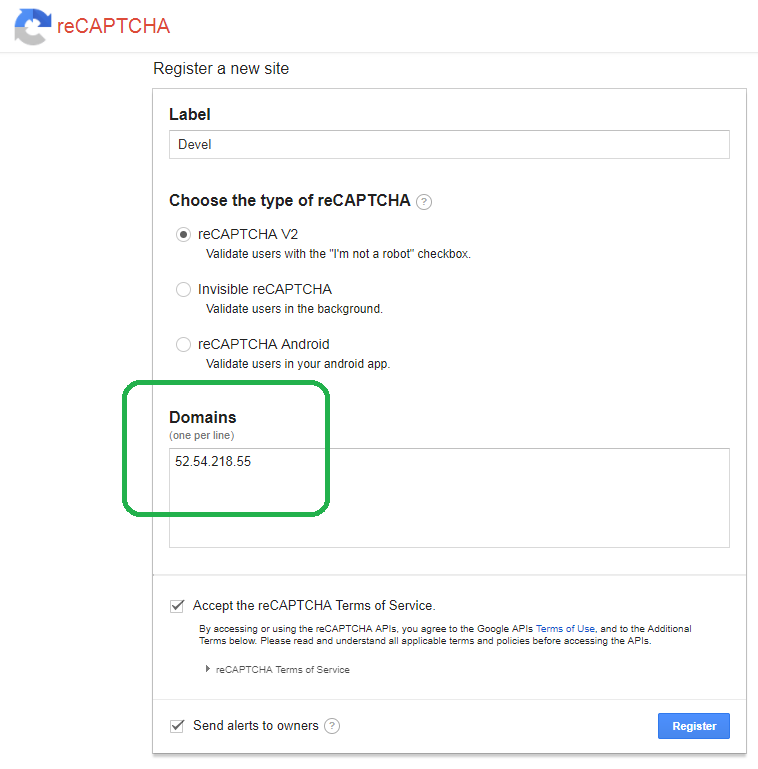
Since this is a test box, let me go back to reCAPTCHA and create keys for the raw IP. In the domain field, I set the raw IP.
Now, armed with the correct keys, let me update config.py.
RC_SITE_KEY='CLuRfS6vpC8aqa4Q6SLgCLuRfS6vpC8aqa4Q6SLg'
RC_SECRET_KEY='CWEjrxRHdrjSJ39L848Lq2JMc4964wEREYdguwux'
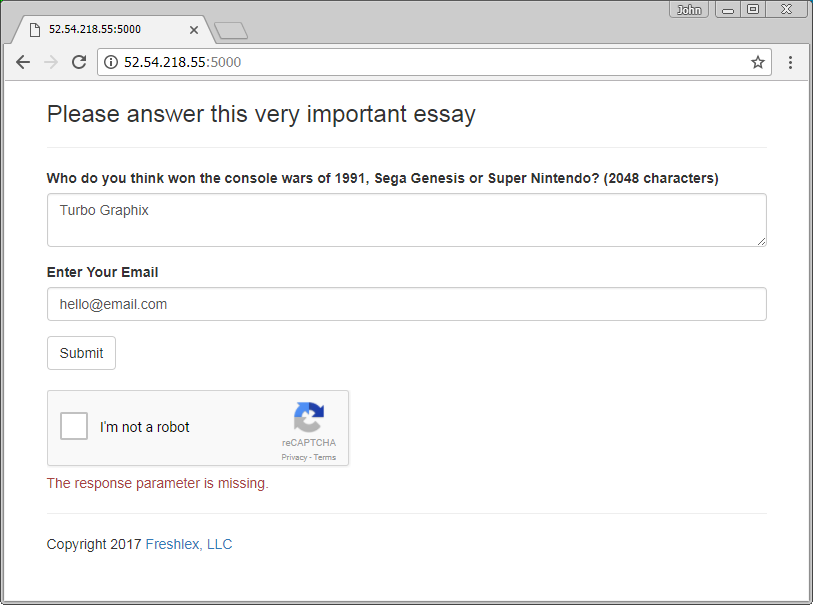
Now, re-start the Flask application, navigate to the web page on port 5000 and you will see a reCAPTCHA option.
Now, lets act like a robot and attempt to submit without clicking the box. Flask-WTF validates the form and barks.
Enough horseplay, let's click the box.
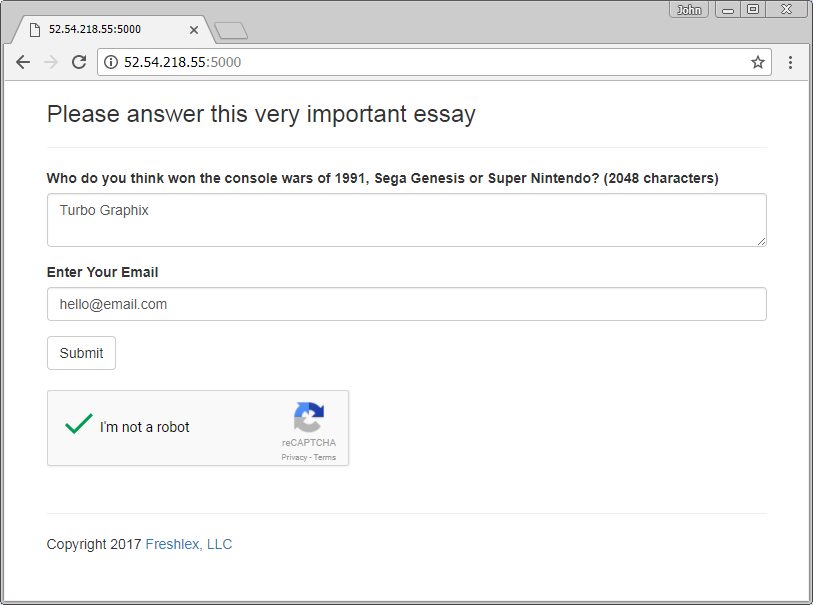
If you pass all of the validation rules, Flask lets you submit the form, and responds with a success message.

I hope you enjoyed this quick HOWTO. If so, check out some of my other Flask HOWTOS.