Relive the glory days of dumb terminals with your thousand dollar cellphone!
Programmers used terminals, decades ago, to log into and execute commands on remote computer systems. The terminal provided a screen and keyboard to computer scientists and phoned home to a multi-million dollar mainframe. Today, we use Secure Shell (SSH) in the same fashion, to log into a remote server that lives in a multi-billion dollar Cloud Service Provider (CSP).
This month I demonstrate how to configure both an Amazon Web Services (AWS) Elastic Compute Cloud (EC2) server and your cellphone to execute SSH commands on the go.
Launch a Server and Retrieve a Key
Your SSH client requires the appropriate Privacy Enhanced Mail (PEM) key associated with your server. If you do not have a PEM key, I will quickly explain how to retrieve one upon server launch.
I recommend you follow these steps on the cellphone that you wish to use for SSH communications.
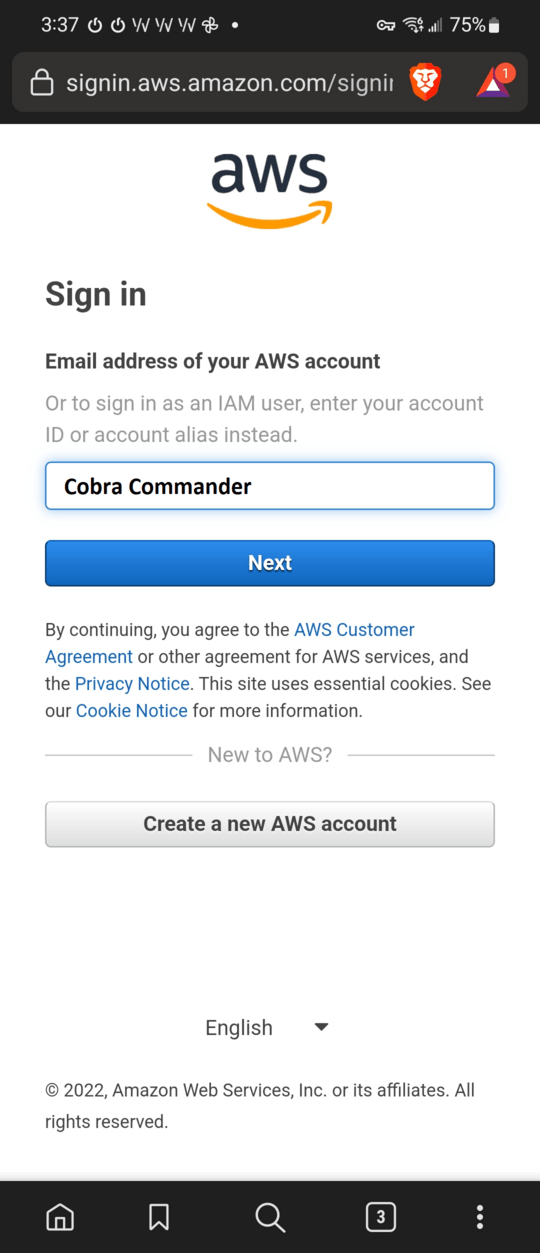
First, sign into the AWS console at aws.amazon.com. You can either enter the email address of your root account (not recommended), or enter your account alias.
Below, I enter my account alias - Cobra Commander.
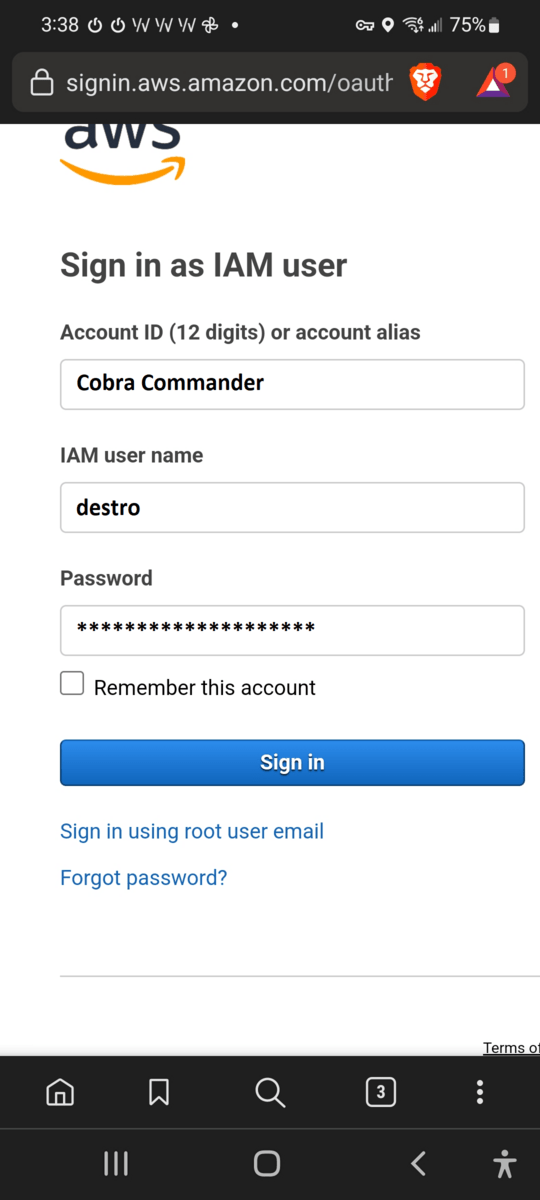
Enter the username and password of an account that has the correct privileges to launch an EC2 instance.
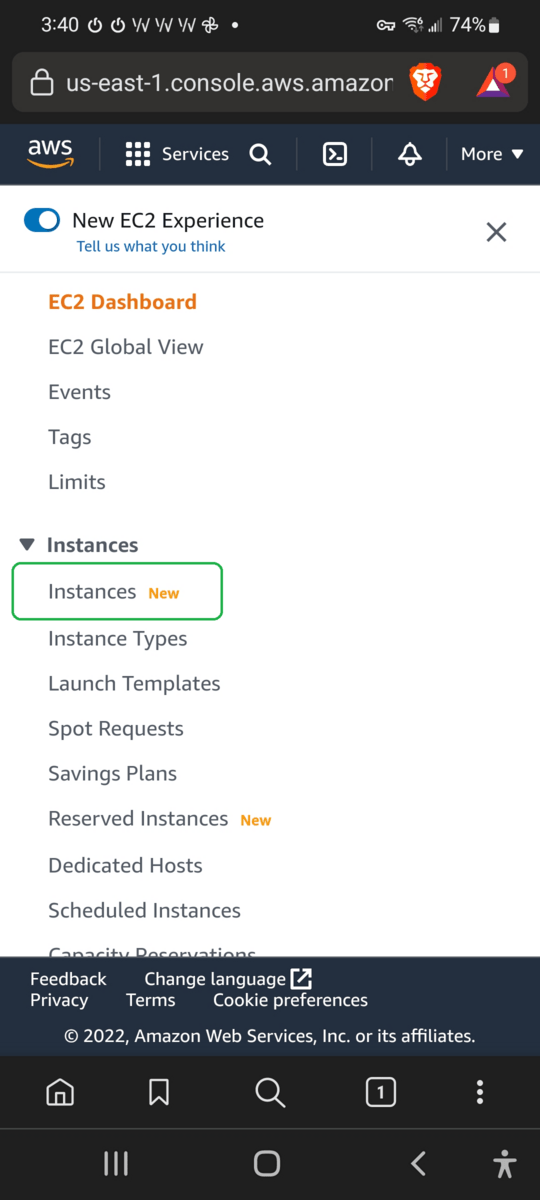
Click the ICON for EC2.

Select Instances.
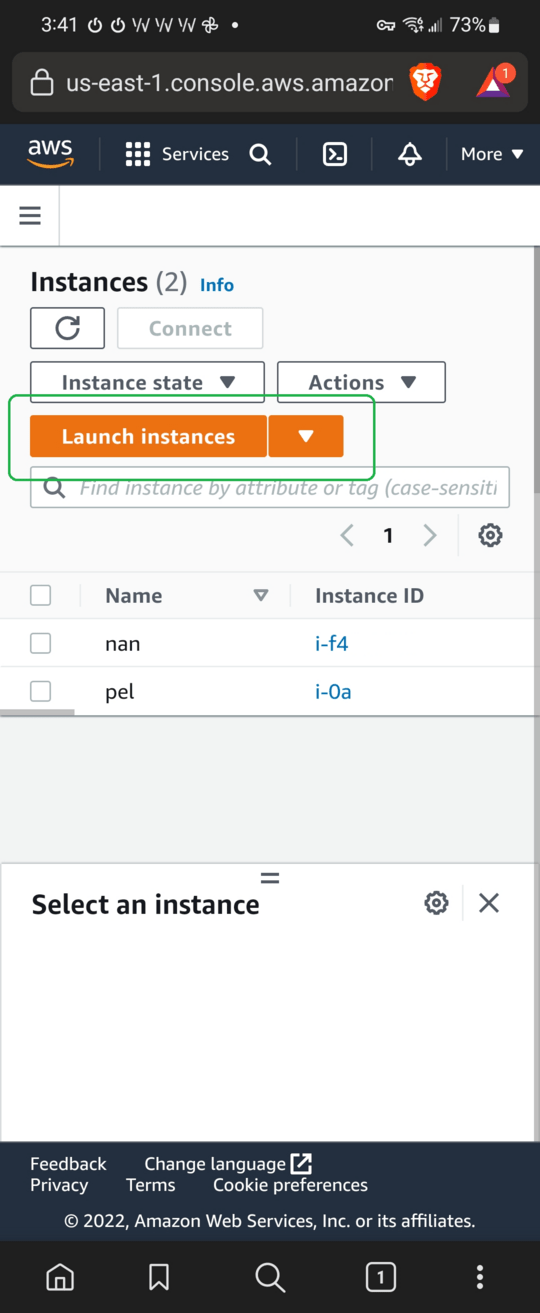
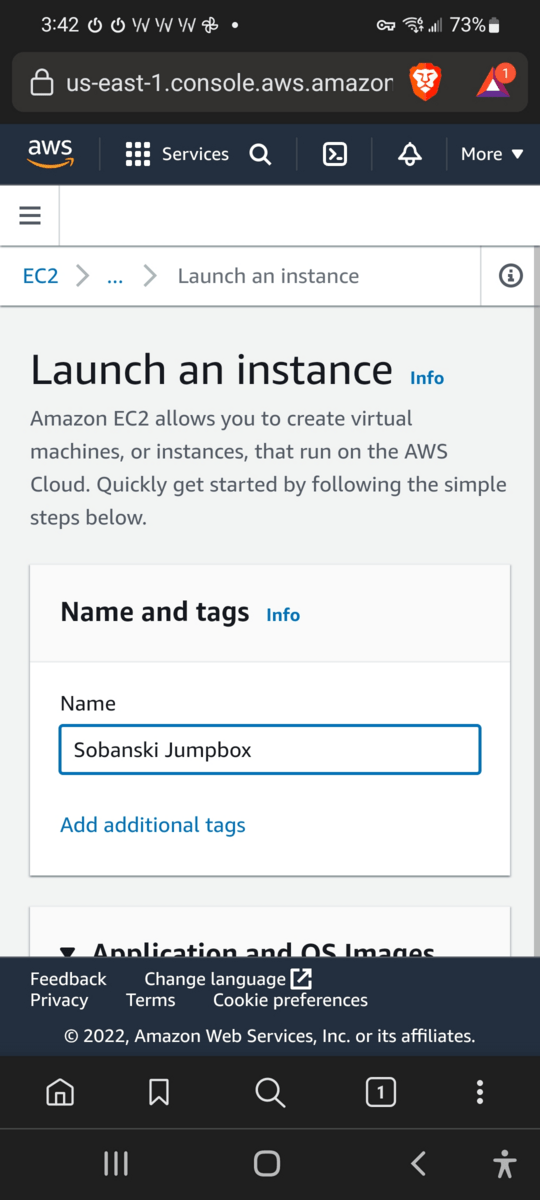
Select Launch instances.
Name your instance. I name mine Sobanski Jumpbox.
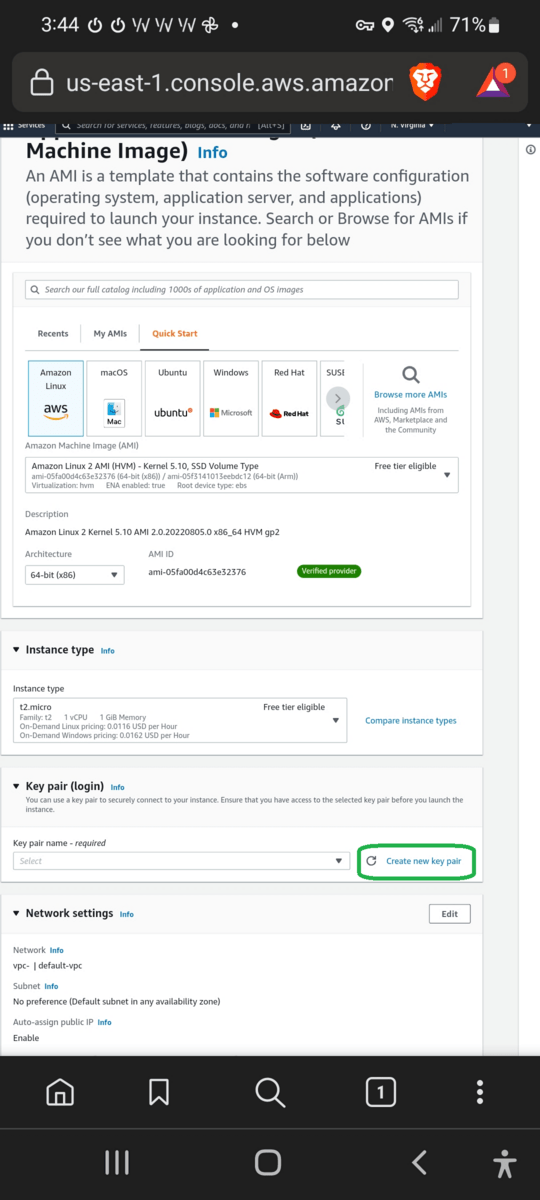
You can leave the defaults for Amazon Machine Image and Instance Type. Different AMI use different default user names. I use Amazon Linux, which provides a default user name of ec2-user.
Select the link that reads Create new key pair.
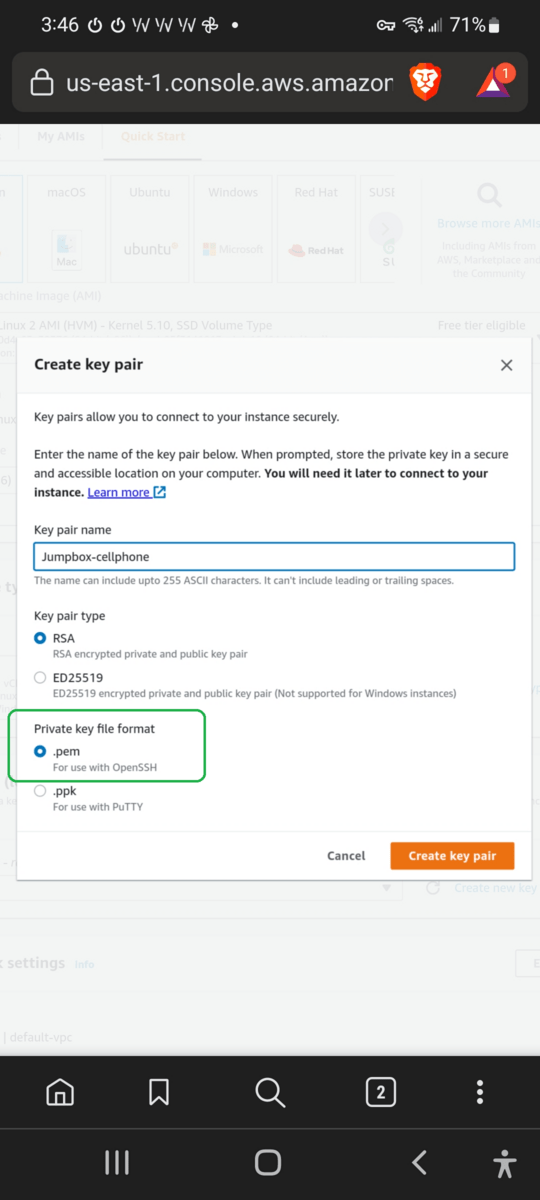
Name your key pair. I name mine Jumpbox-cellphone. You must select the radio button that commands AWS to encode the key into PEM format. Our SSH Client requires a PEM encoded Key.
Click Create key pair.
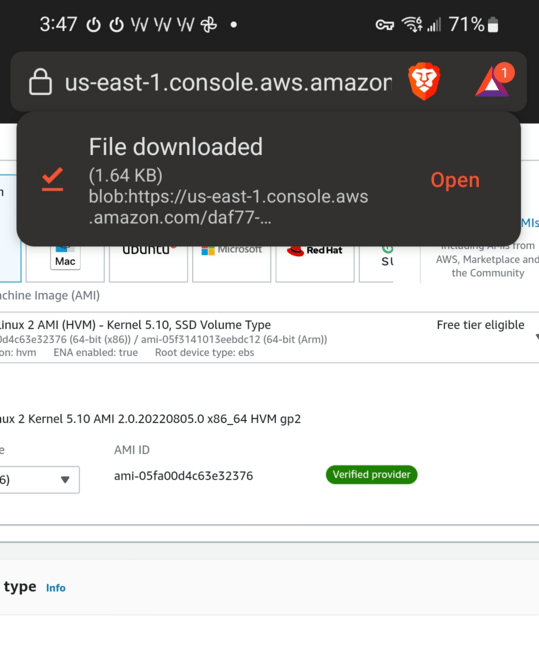
Your browser downloads the PEM file to your phone.
Save and protect this file. Anyone that holds this key can log into your server. If you lose this key, you can no longer log into your server.
In the example below, I use the Brave browser.
For extra security, limit access to your server to the IP address of your cellphone. If you have not used Security Groups before, this may lead to headaches with connectivity.
If you just want to try out the SSH client, you can set the rule to Anywhere but keep in mind hoards of bots will try to brute force your server.
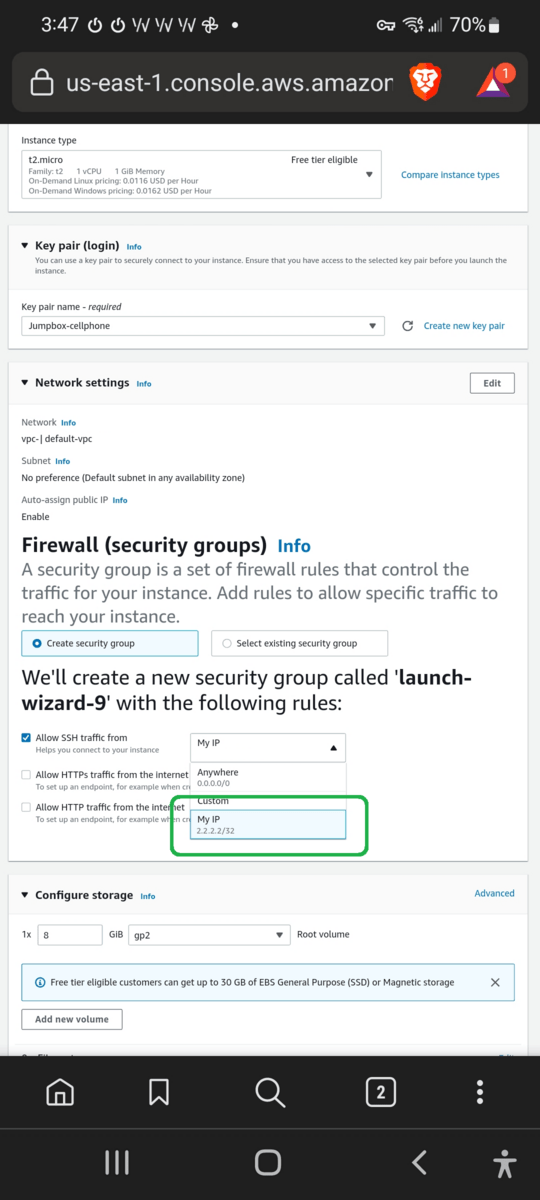
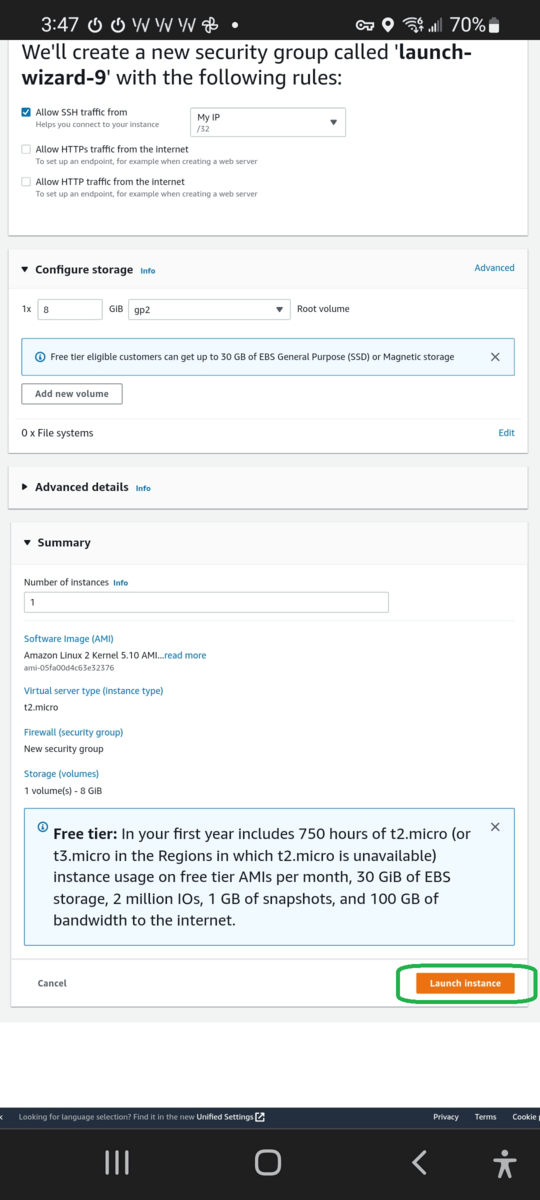
Launch the instance once the configuration satisfies you.
Amazon provides a splash page for success.
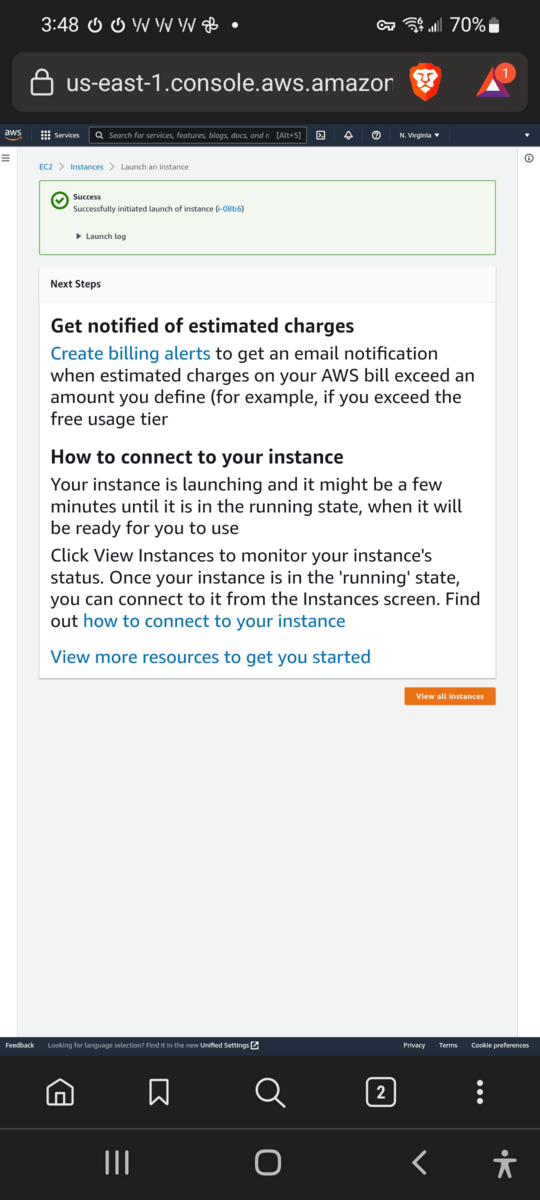
You can click the hyperlink for the Instance ID to learn about your new server's configuration details.
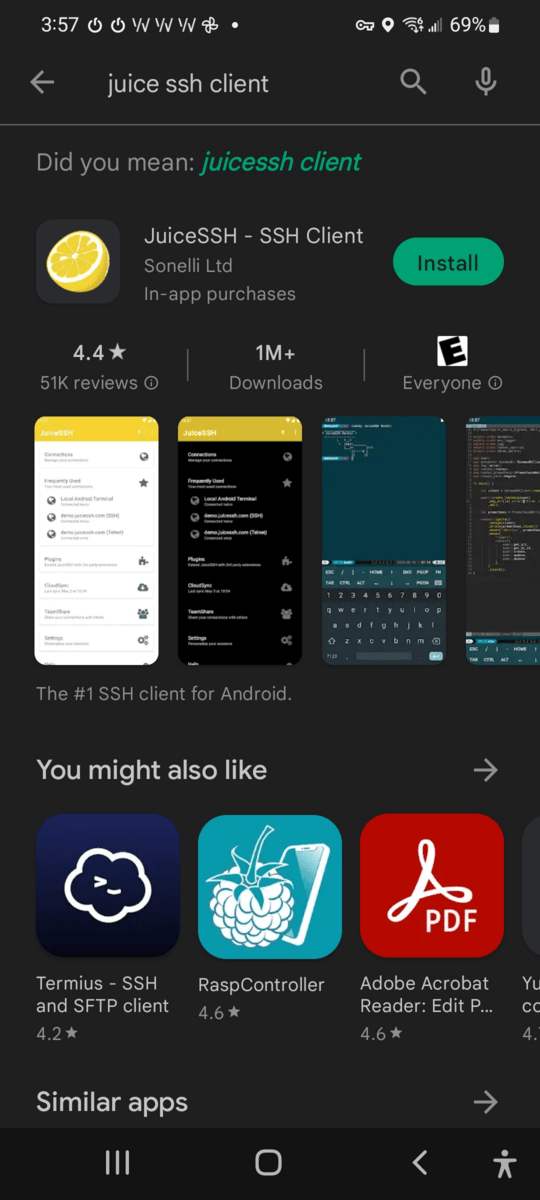
Install and Configure JuiceSSH
JuiceSSH provides a SSH client for your smart phone. JuiceSSH also works on Chromebooks.
Their website reads that 75k new people a month install JuiceSSH!
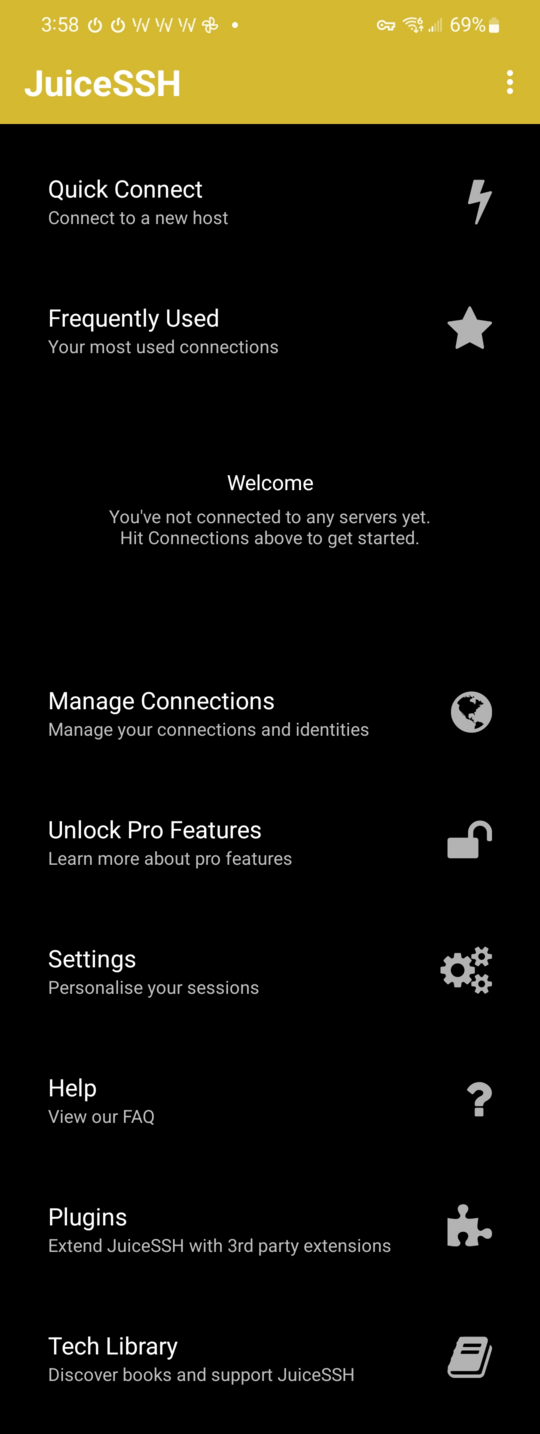
JuicsSSH, once installed, displays a modest splash screen. Click Manage Connections.
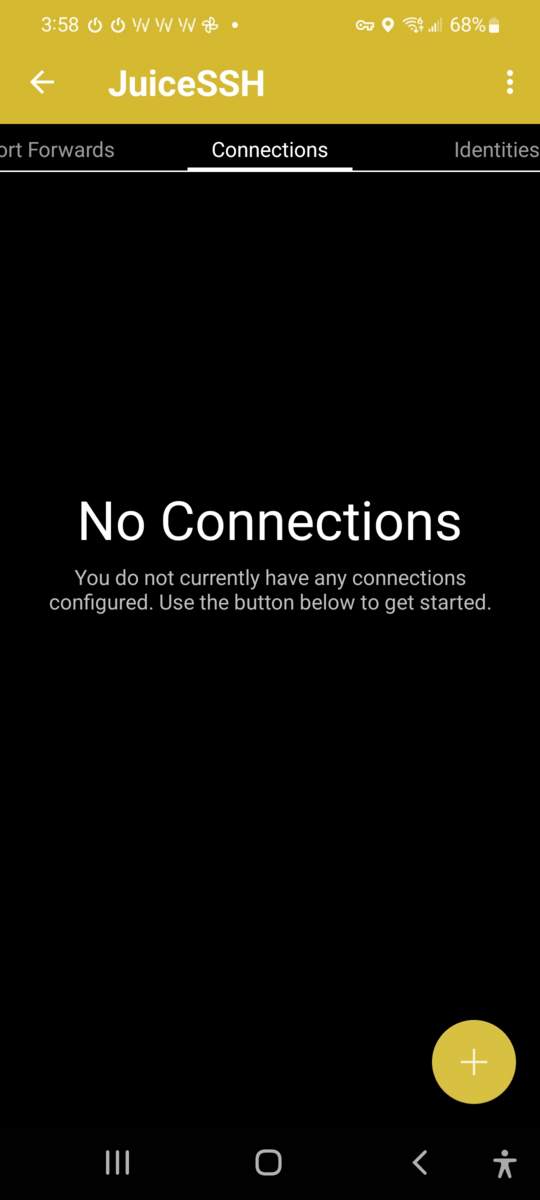
Click the plus sign to add a new connection.
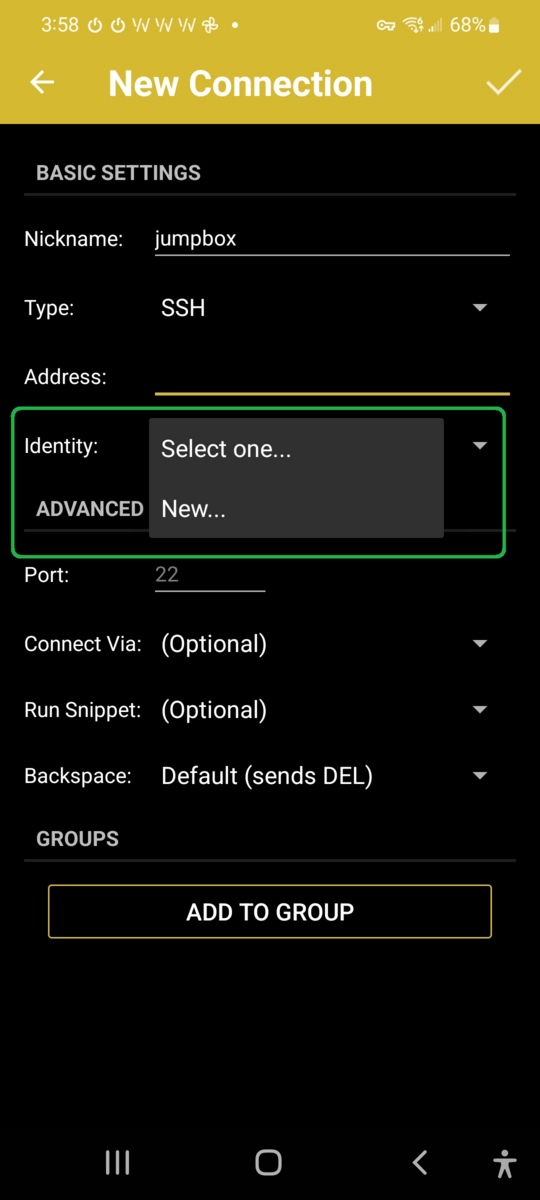
Your new connection requires an identity. Select New... and the app will provide a file picker. Use the file picker to select the PEM you downloaded in step one, above. The PEM provides an identity.
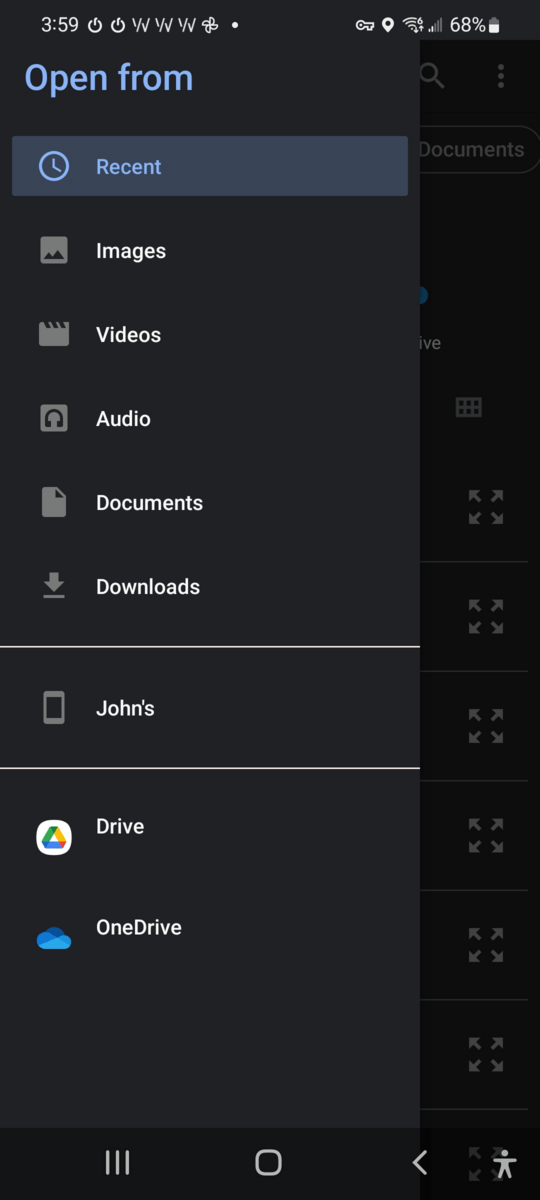
Navigate the file picker to find the PEM you downloaded in step one, above. I select Downloads.
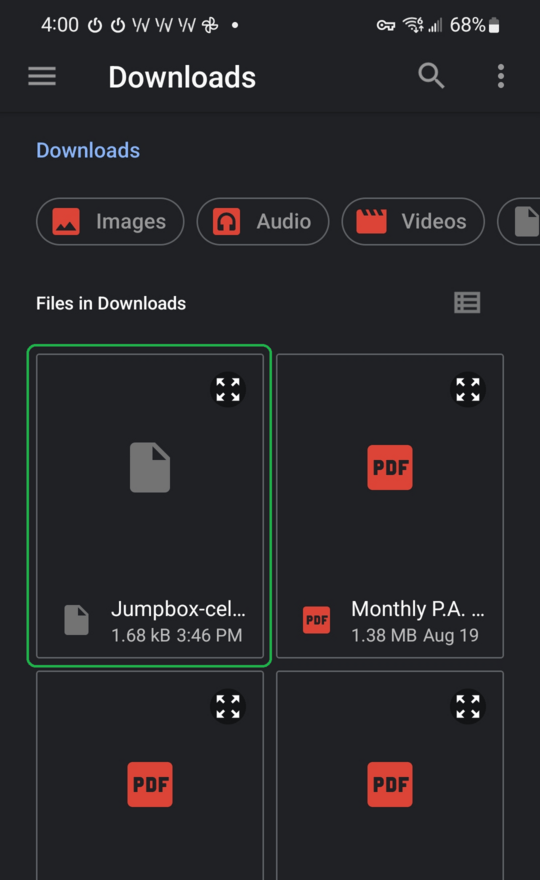
My Downloads folder presents my Jumpbox-cellphone.pem file. I click to select.
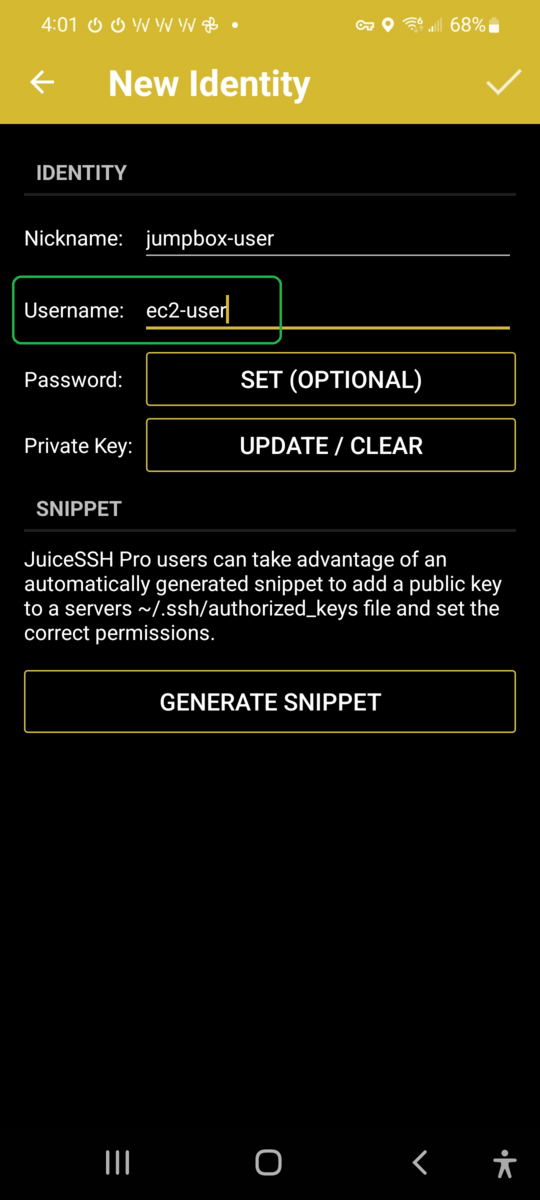
JuiceSSH recognizes that the PEM file contains a Private Key. Since you provided a Private Key, you do not need to enter a Password. Leave Password blank.
Enter ec2-user for Username and then select the Check icon in the upper right.
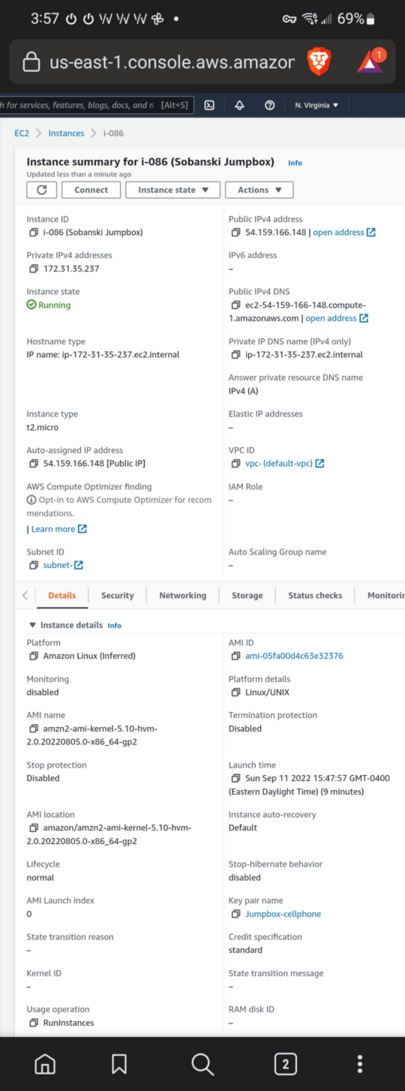
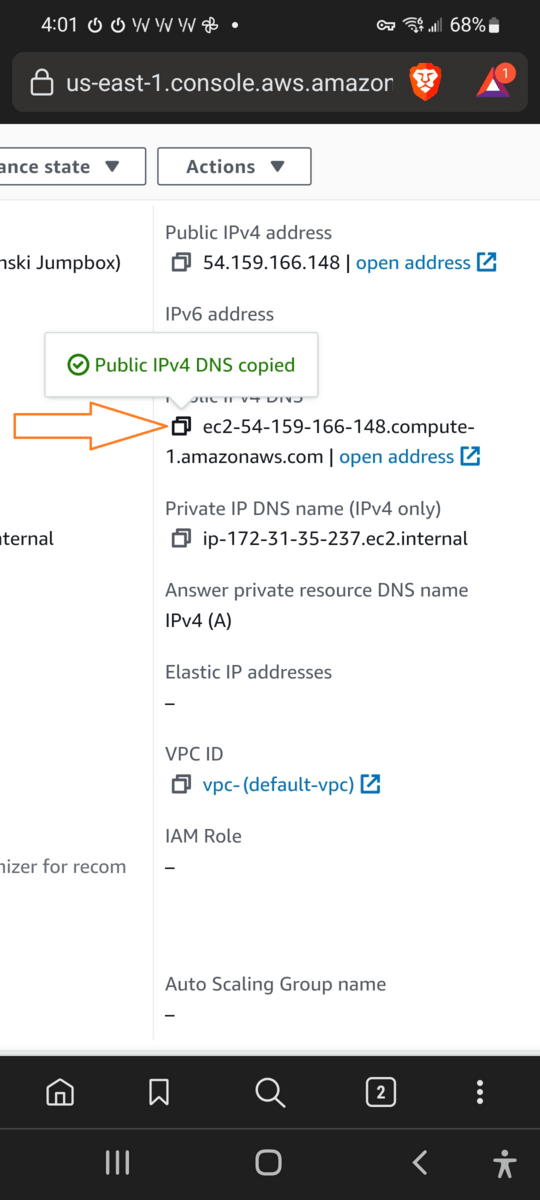
Navigate back to your browser and view the details of your EC2 instance.
Select the copy icon to copy the IP (or DNS) address of your Server.
AWS indicates that you copied your Public IPv4 DNS.
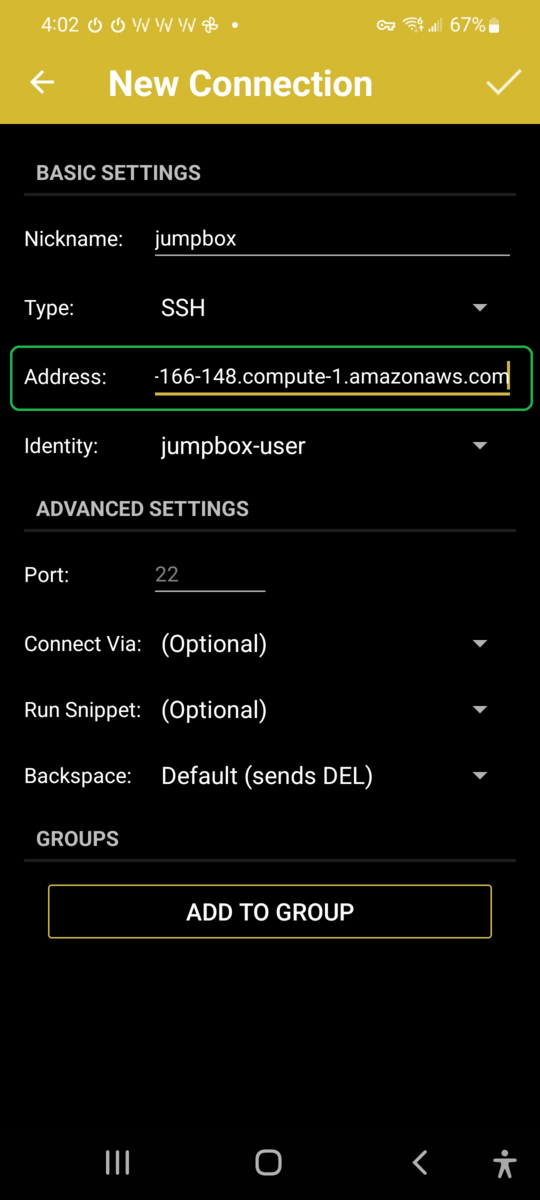
In JuiceSSH, paste the DNS in the Address field of your Connection wizard.
Click the Check icon in the upper right.
JuiceSSH presents your new connection.
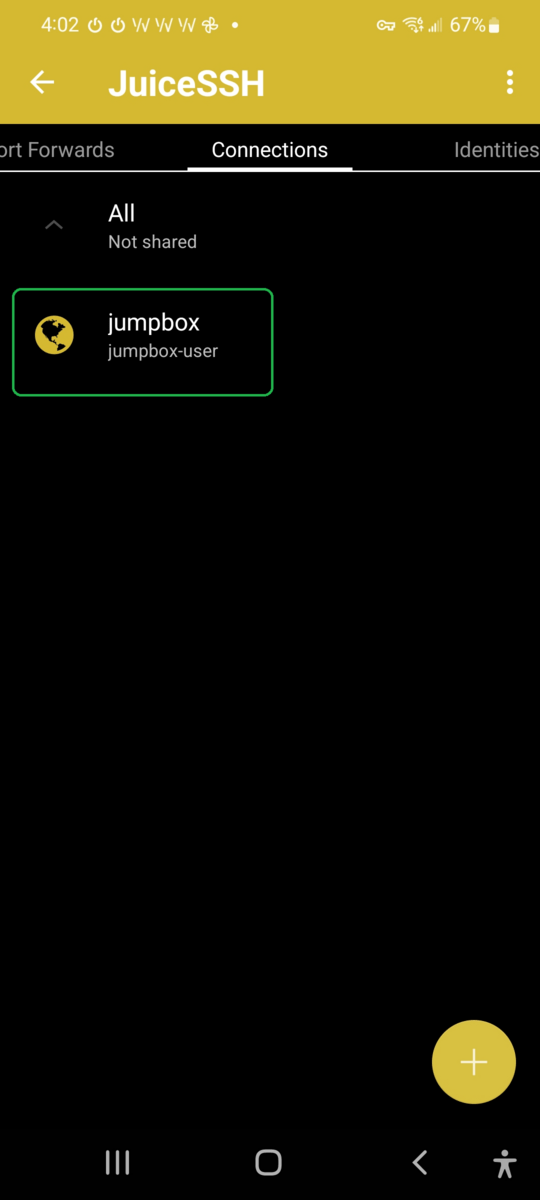
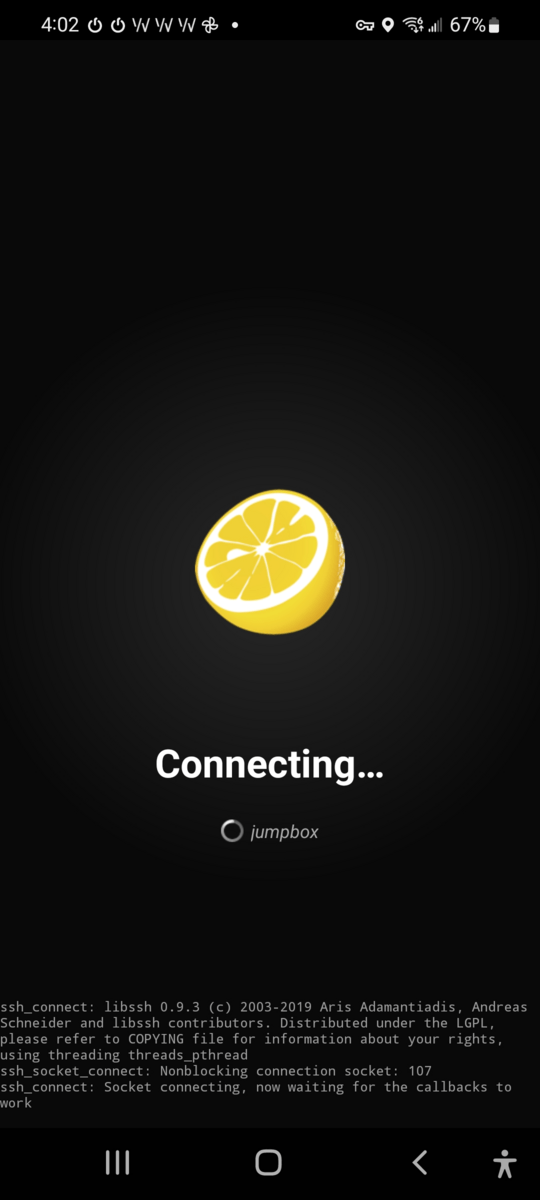
Click your Connection and JuiceSSH connects.
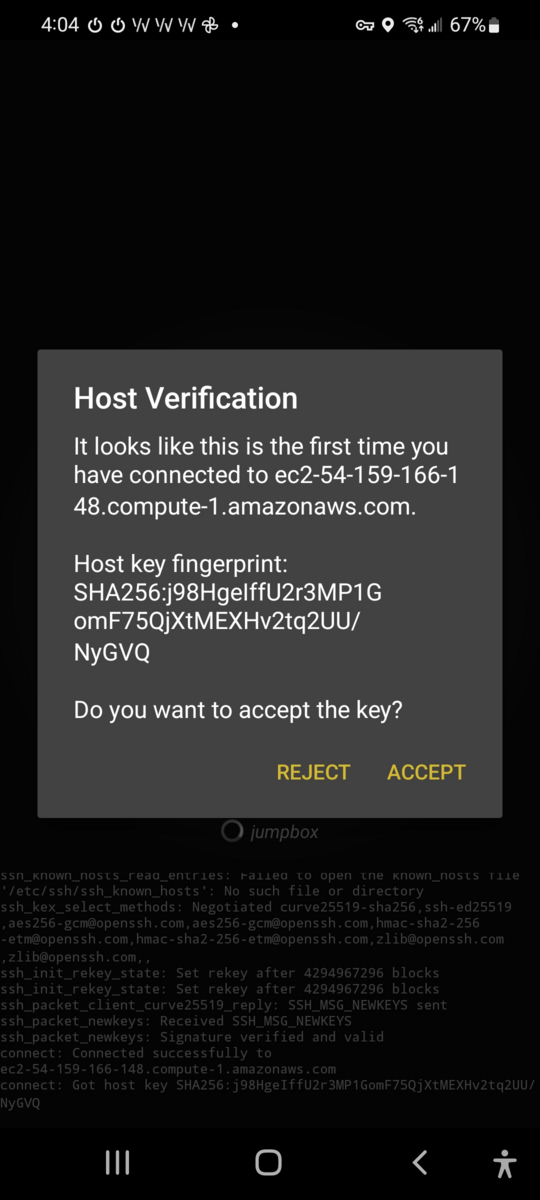
Click Accept on the Host Verification screen.
Once in, JuiceSSH provides a quick tutorial on how to input text and commands via your phone.

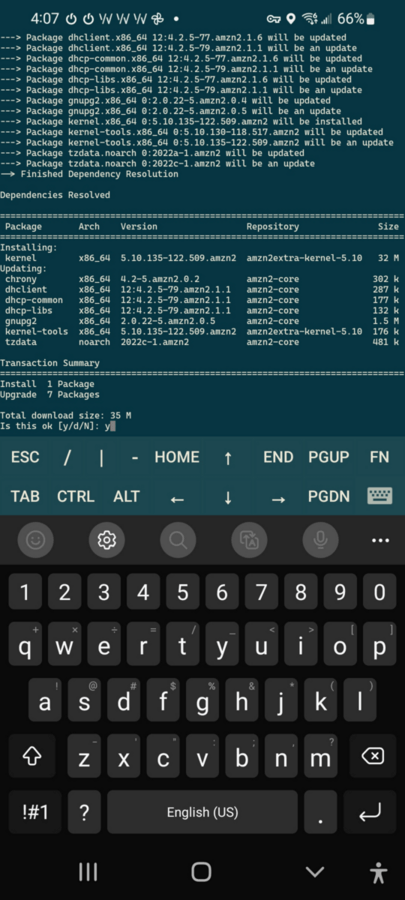
In the example below, I use my phone to execute an APT Update!
One Handed Keyboard
I use a small, portable Chorded Keyboard to overcome the limitations of my Android phone's onscreen keyboard.
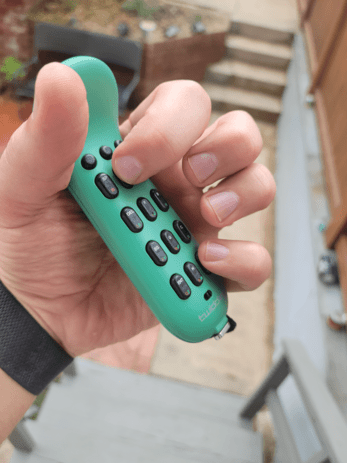
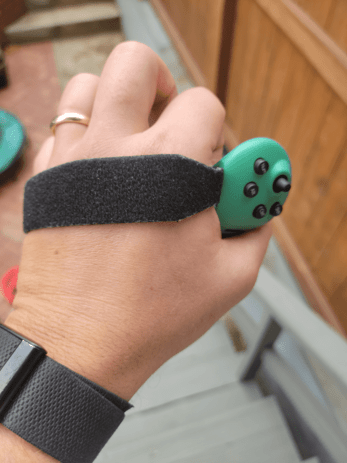
The Twiddler (Non-affiliate link) provides a full keyboard in a palm sized form-factor. If you plan to administer your Servers, or write code on your mobile device, I recommend this keyboard.
From the website:
The Twiddler lets you type and navigate faster on your mobile phone, tablet, or wearable without the hindrance of a bulky traditional keyboard. Perfect when you’re away from the office or on your morning commute, the Twiddler can increase your productivity like never before.
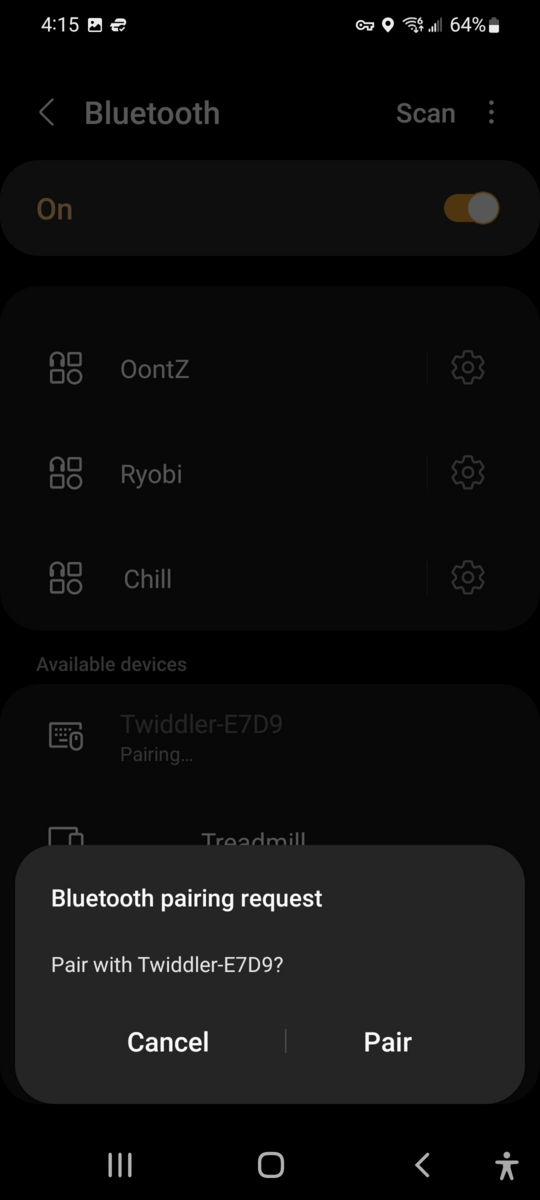
To pair the Twiddler, simply select it from your Bluetooth menu.
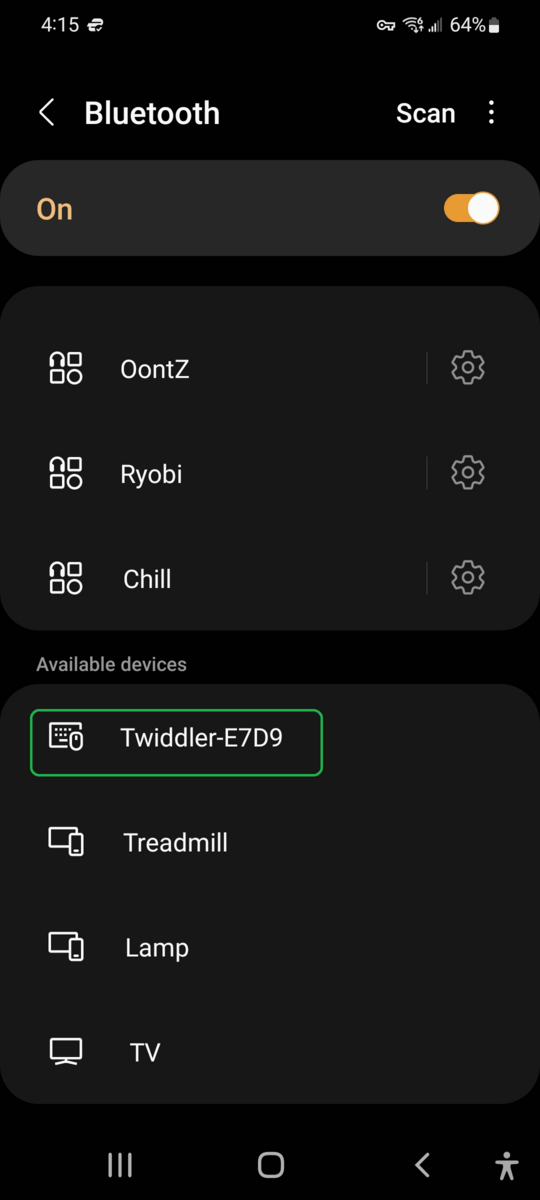
Accept the pairing request and type away!
Conclusion
Leverage the power of the cloud wherever you go. JuiceSSH provides an SSH client on Android devices, and accepts private keys in lieu of insecure passwords.